Matomo, formerly known as Piwik, is today one of the most widespread web analytics tools, with more than one million installations. It is an OpenSource tool, with an important community of developers behind it, which guarantees its evolution in a world as changing as the online sector.
Matomo has in its totally free version more than enough basic functionalities to address advanced measurement projects. It also has a marketplace with plugins, such as session recordings, measurement of forms, videos, etc. that allow an even more sophisticated measurement.
Is Piwik the same as Matomo? #
Basically yes. All there has been is a name change to put an end to the confusion between the old one. Piwik, supported by its open source community, and Piwik Pro, a private company to which the use of the brand was assigned Piwik Pro, but that dissociated itself from the open source project and embarked on its own route, developing already closed solutions, providing premium and on-premise services to companies and with products such as Piwik Pro Tag Manager.
With this new name, the OpenSource version of Piwik is renamed Matomo (Honesty in Japanese), and continues the same route he undertook 10 years ago, which perfectly sums up his mission: “Create, as a community, the leading open source digital analytics platform, which gives the user total control of their data”.
If you didn’t know Piwik, or want to get an idea of what Matomo is like, you can try their demo on https://demo.matomo.org
Installation: On server or in the cloud? #
Matomo provides an installable version on our own server, so that we can have full control of the tool and the data stored in it, since in no case do they go through third parties, guaranteeing the privacy of the data.
There is, in turn, the possibility of contracting a cloud version with the company Innocraft, a cloud-hosted installation provided by the company. You can see the differences between Matomo On-Premise (the installable version) and the Cloud version here https://matomo.org/pricing/
In this tutorial we will see, step by step, how to install Matomo on our own server.
How to install Matomo #
Basic skills: #
To follow this guide we assume that:
- You have access to your server.
- You have access and know how to use an FTP program.
- You know how to create databases on your server.
Server requirements: #
For your Matomo installation on your server to run properly, you will need to have the following
- Webserver such as Apache, Nginx, IIS, etc.
- PHP version 5.5.9 or higher.
- MySQL version 5.5 higher, or MariaDB.
- Extensions enabled in PHP pdo and pdo_mysql,or mysqli extension.
Discharge #
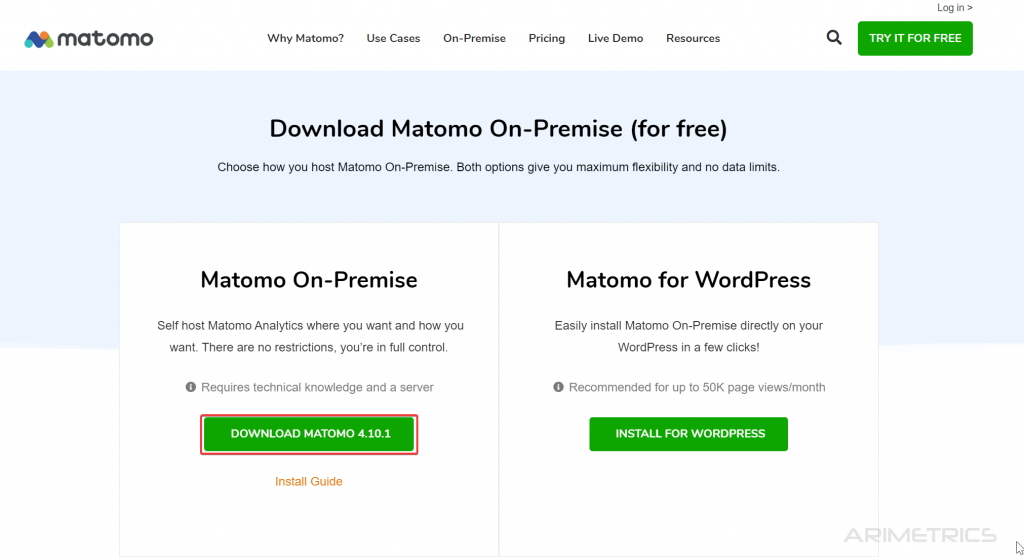
First we download the .zip file from the official website. To do this we will go to https://matomo.org, select the Matomo On-Premise option.

Then download the matomo-latest file.zip from the DOWNLOAD button. (It occupies only 20 mb). We can also download it from the following link: https://builds.matomo.org/matomo.zip
If you have SSH access you can directly use the following command:
wget https://builds.matomo.org/matomo.zip && unzip matomo.zipStep 1:
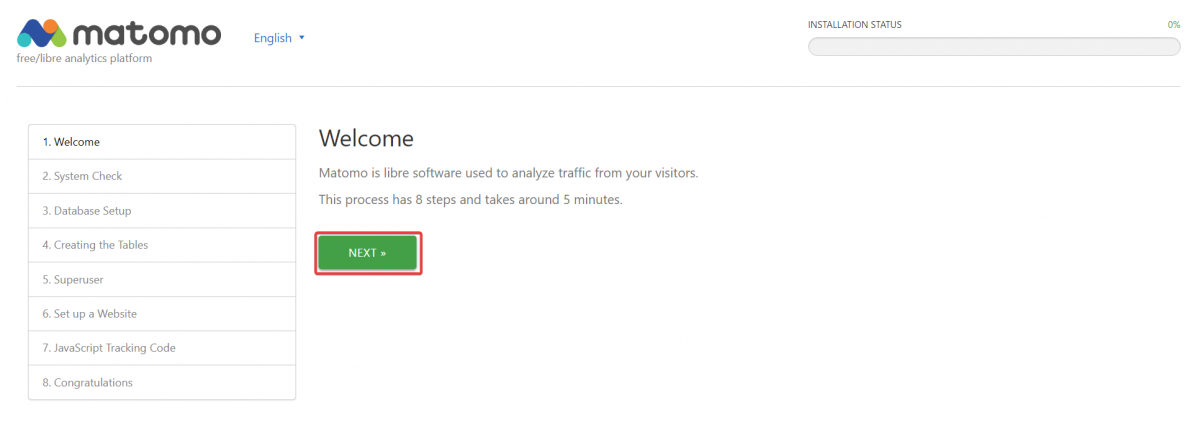
Step 1: Welcome! #
The only thing we have to do is press NEXT
Step 2: System Check #
System check: Checks if the accommodation meets all requirements. These requirements are not too demanding, although you may have to make (you or your hosting provider) some adjustment to the server.
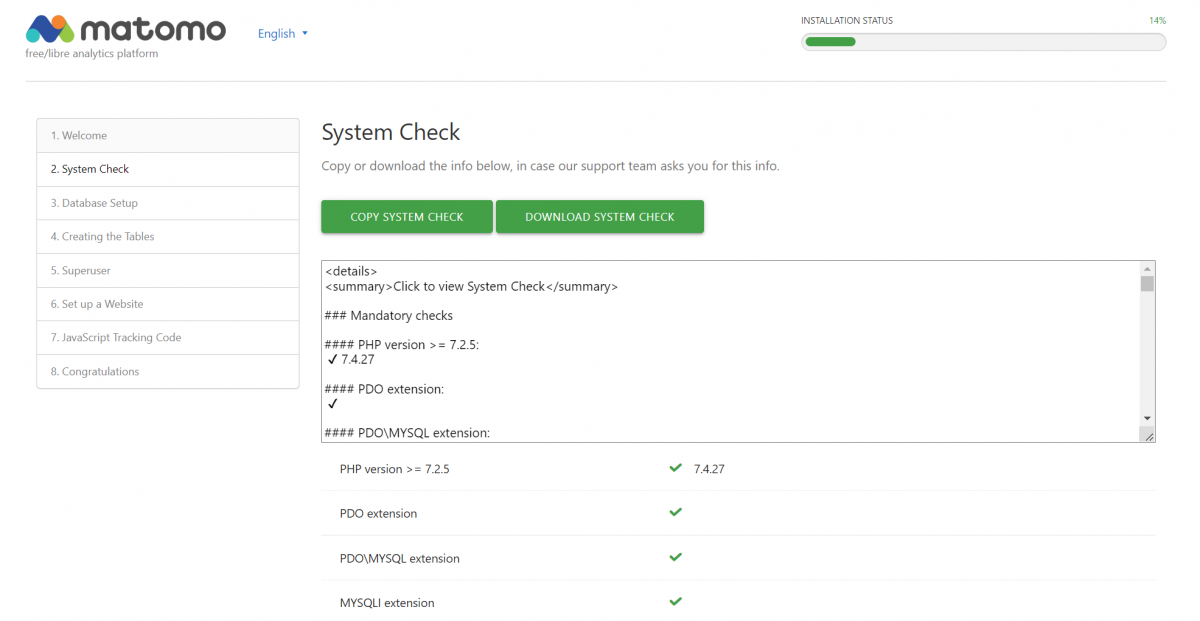
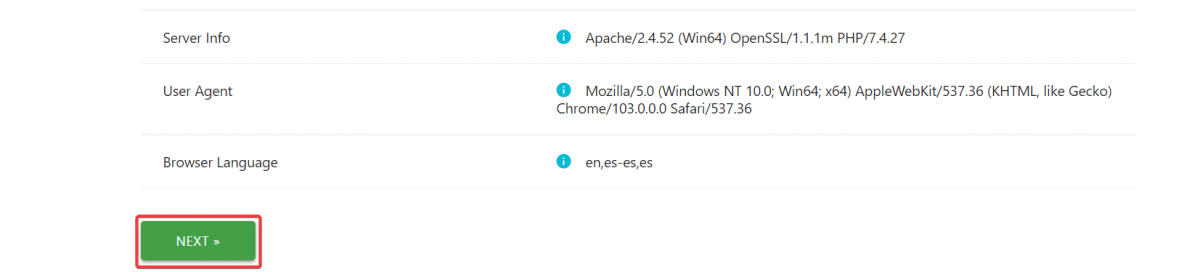
If everything is correct at the bottom of the page you will see the NEXT button
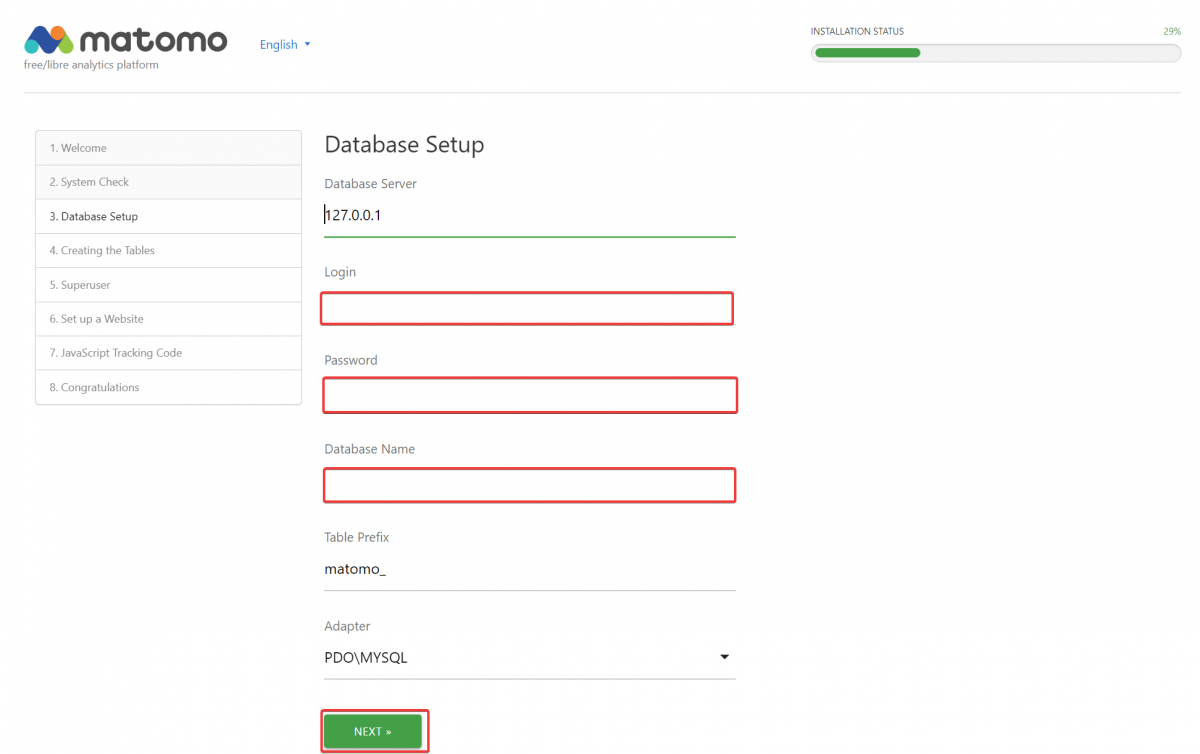
Step 3: Configure the database #
We enter the data from the database:
- Server
- Log on: Database user
- Password: password of the database user
- Database name
- Table prefix (you can leave _matomo or put the prefix you want)
- Adapter: PDO\MySQL
As a security measure, it is advisable to use matomo its own MySQL database with a unique username and password different from those of the rest of the hosted services.
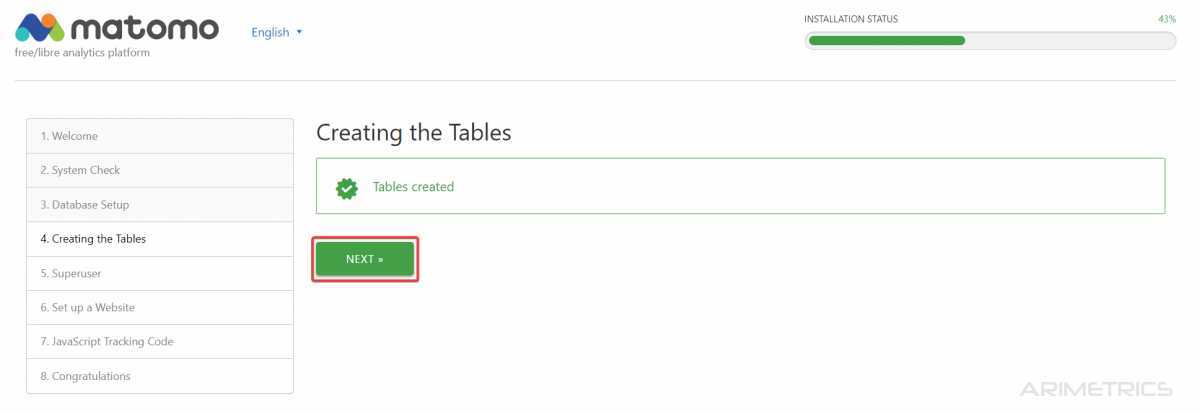
Step 4: Creating the tables #
If everything has gone well (surely yes), the database tables will be created automatically and you can move on to the next step
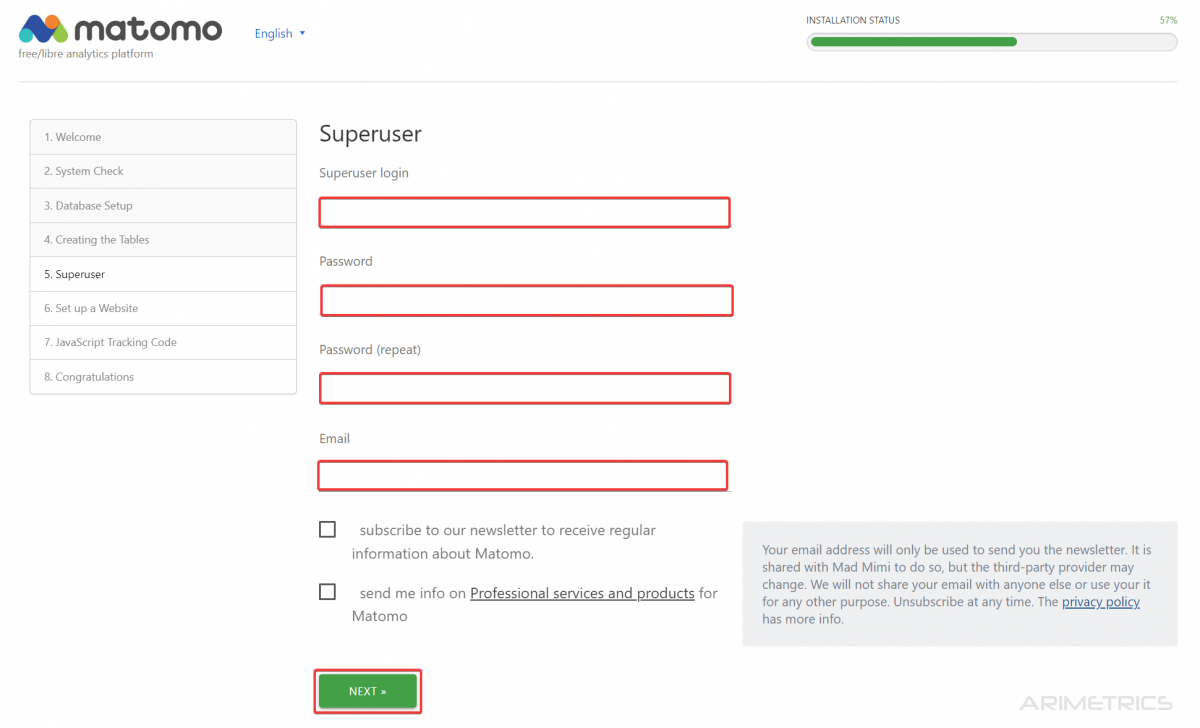
Step 5: Super User #
It is time to create the Super User: the user who will have all the admin permissions within the Matomo installation.
Required fields are
- Super User Login (admin name)
- Password (login you will use to access)
- Email (to reset password)
Subscription fields are not mandatory, but I recommend subscribing. They are giving you their product in exchange for nothing. They are good people 😉
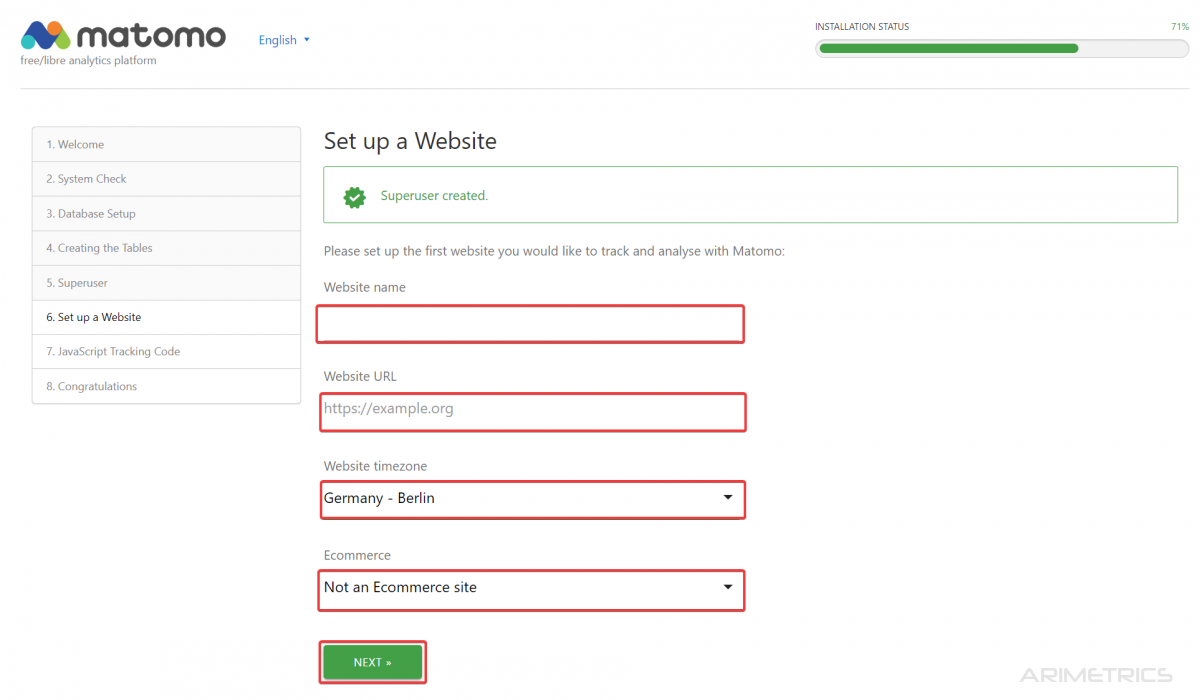
Step 6: Set up a website #
To finish the configuration of the account we must enter the address of the first site to measure (later we can add new sites to measure with the same account).
We will also select the time zone, as well as the option of whether or not it is an e-commerce site.
Step 7: Code #
In this last step we obtain the JavaScript code that we will have to enter on our website, either directly in the code before the tag, or through one of the plugins that have already been developed for several CMS:
- WordPress: WP-Matomo Plugin
- Drupal: Matomo (Piwik) Web Analytics Drupal Module
- Joomla: Matomo Analytics (formerly Piwik Analytics) Joomla! extension
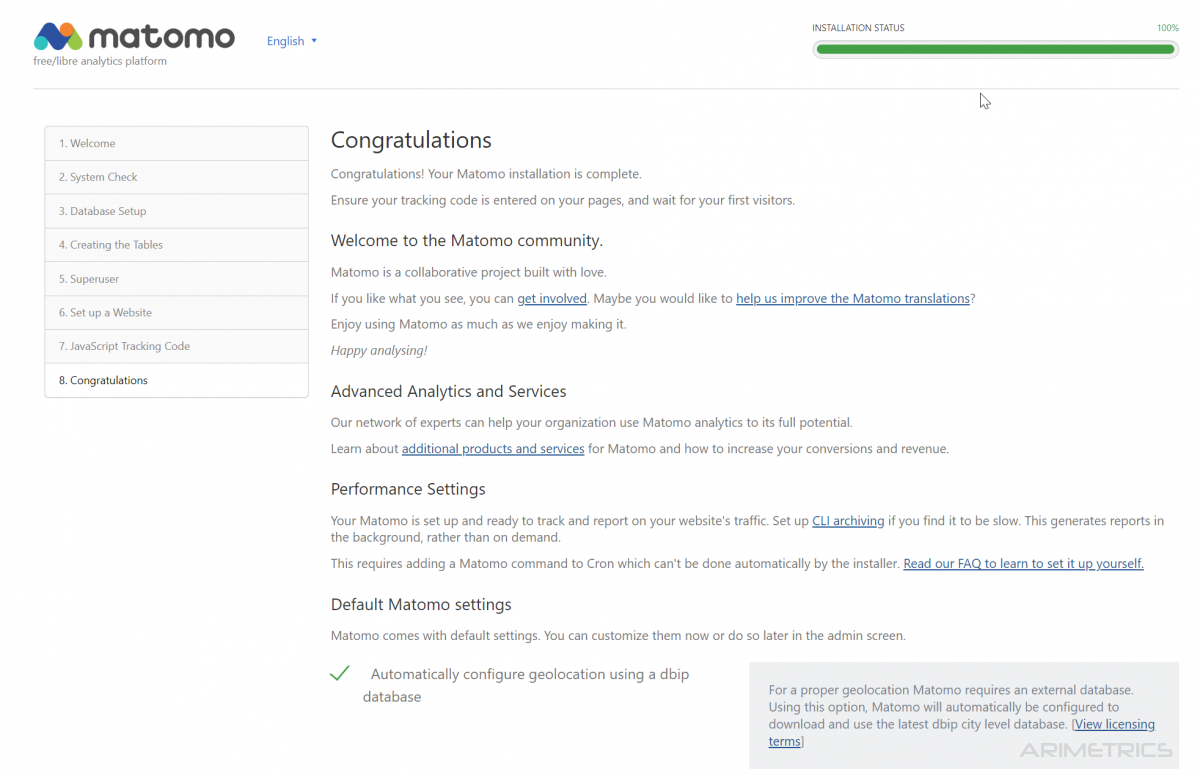
Step 8: Congratulations #
If everything has gone well, we come to the final page of the installation: We are ready to enter our new web analytics tool.

As you can see, implementing this tool is extremely simple. At most you will have to make some query to your hosting that will be easily resolved, since it is not necessary any special requirement that is out of the ordinary.
… And once the tool is installed on your server, and you enter the measurement code, you can log in with your administrator user and enjoy this very complete web analytics tool.


